Loading... # window下gcc+vscode的安装与使用 > **系统:win11;IDE:vscode** ## tdm-gcc的安装 ### 下载地址 [官方下载地址](https://jmeubank.github.io/tdm-gcc/) **若嫌下载速度太慢或者需要翻墙,可以选择** [百度网盘,提取码gmab](https://pan.baidu.com/s/1gBtMSX55hvUN5zn8oNV4Qg?pwd=gmab) ### 安装教程 **注意这里的**`check for updated files on the TDM_GCC server`**不要勾选**! 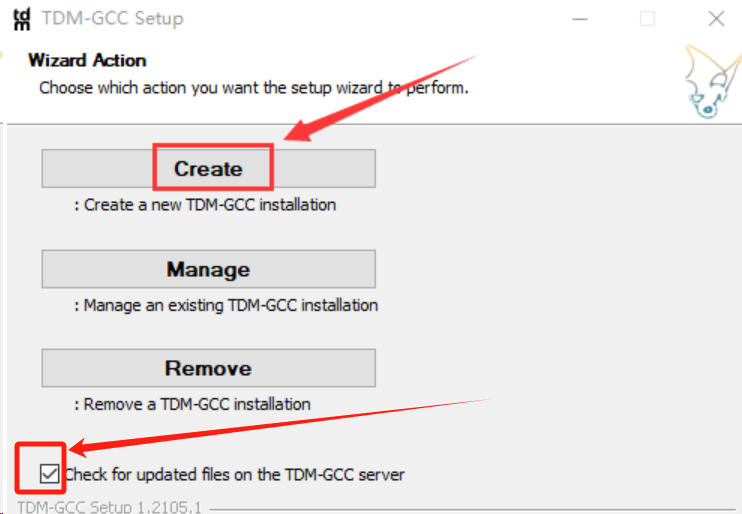 **安装第二个版本** 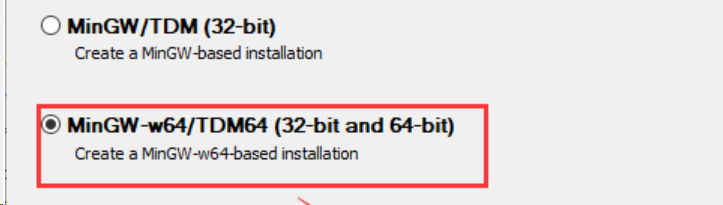 **在安装选项中注意要****勾上omp和Add to Path** 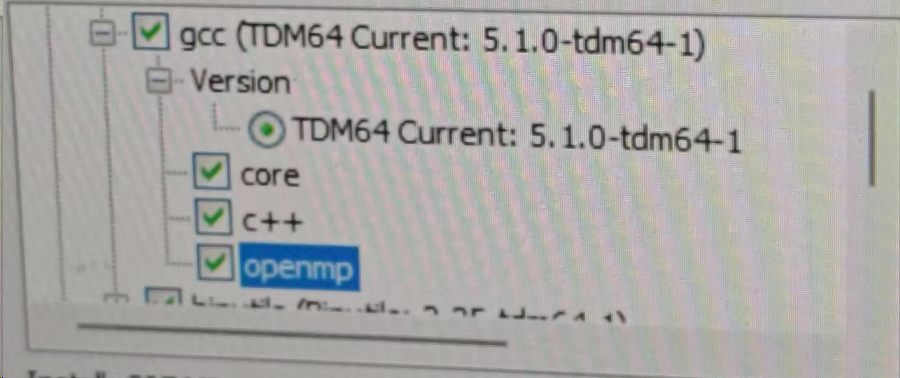 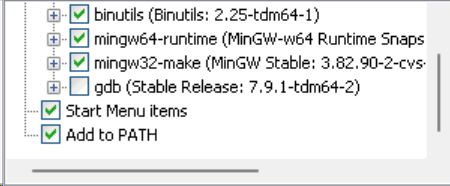 **其他的安装过程,如安装位置任意** ### 验证安装完成 `win` `+` `r`打开运行窗口,输入`cmd`并回车 **在弹出的cmd窗口中输入**`gcc --version`  **若输出以下内容则安装成功** **若未安装成功,则需要****手动配置环境变量** **手动配置环境变量** 1. **右键此电脑->属性->高级系统设置->环境变量** 2. **在系统变量中找到Path,双击打开**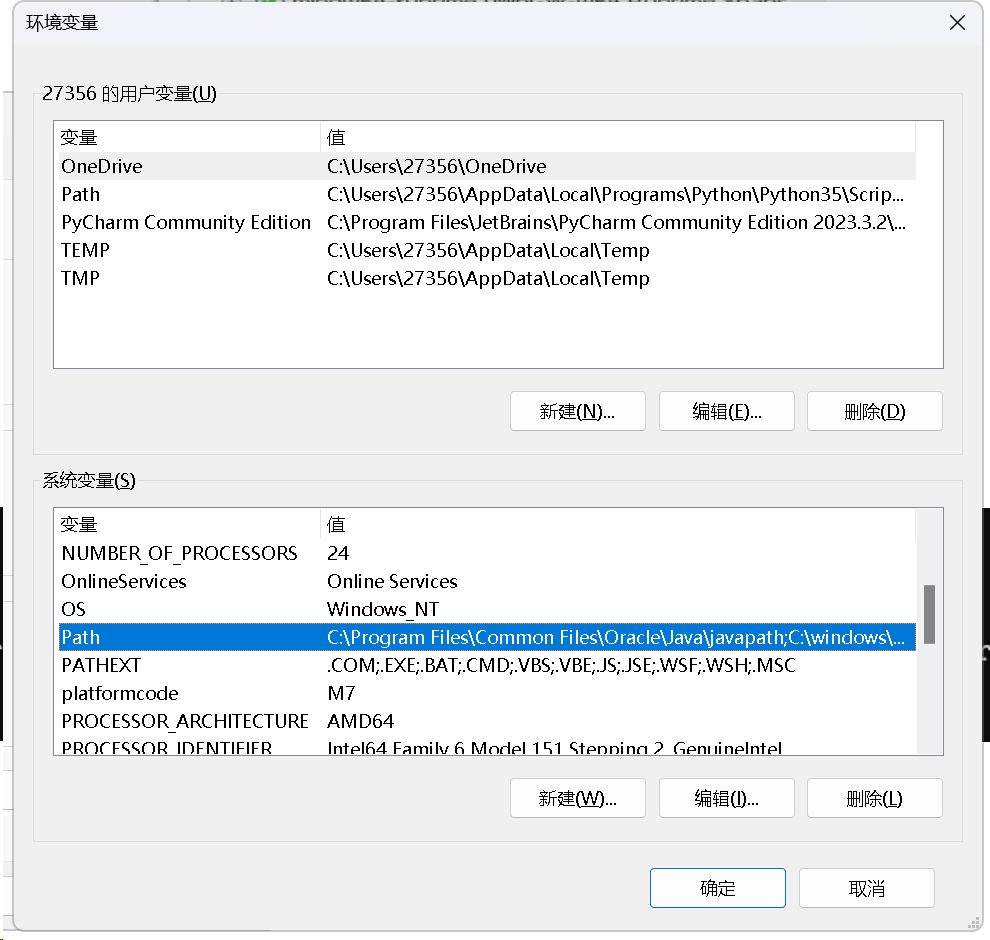 3. **点击新建,并在最下方输入****自己的**gcc安装路径中bin文件地址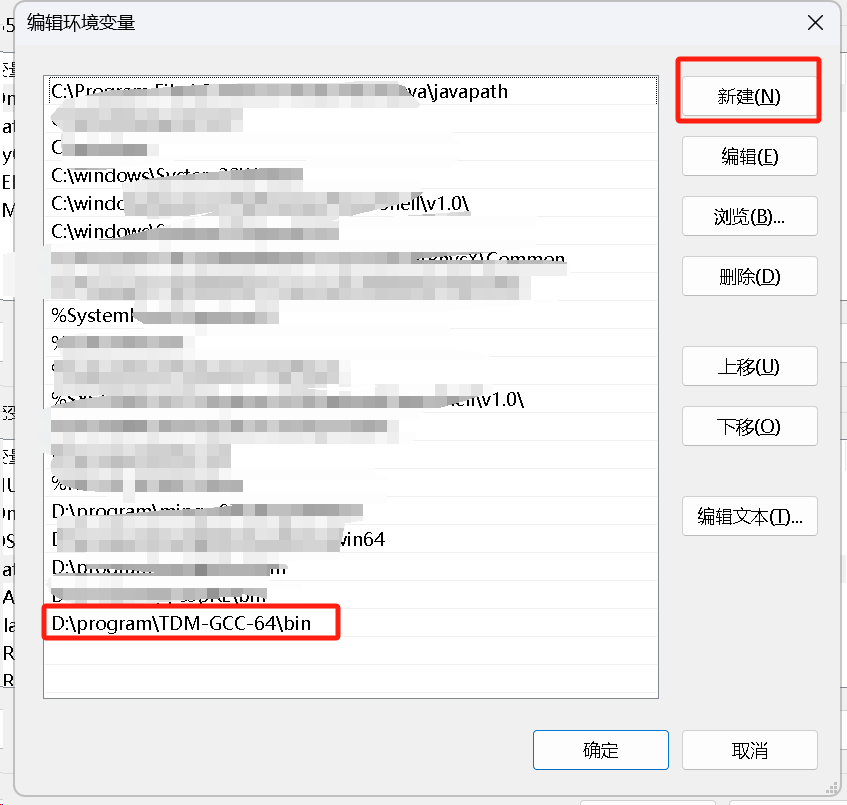 ## 配置vscode **本文默认已经会使用vscode编写c/c++代码** **下载code-runner插件**  **点击右下角设置->拓展设置** 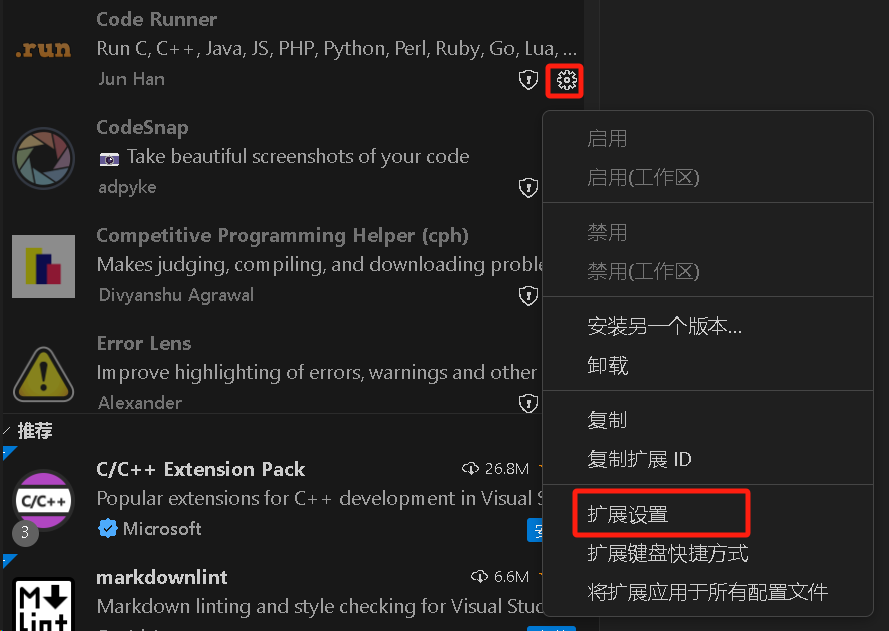 **在弹出的窗口中点击右上角打开设置**  **找到**`code-runner.executorMap`设置,添加或修改`"c"`到以下形式 ``` "c": "cd $dir && gcc -fopenmp $fileName -o $fileNameWithoutExt && $dir$fileNameWithoutExt", ``` **新建**`test.c`,输入以下代码: ``` #include <omp.h> #include <stdio.h> #include <stdlib.h> int main() { int id = 0, numb = 0; printf("%d %d\n", id, numb); omp_set_num_threads(3); // 开了三个线程用于并行 #pragma omp parallel private(id, numb) // 接下来代码块中的程序要并行执行,并且每一个线程都有自己的id, numb { id = omp_get_thread_num(); numb = omp_get_num_threads(); printf("I am thread % d out of % d \n", id, numb); } printf("%d %d", id, numb); } ``` **右键代码,选择run code即可正常运行** 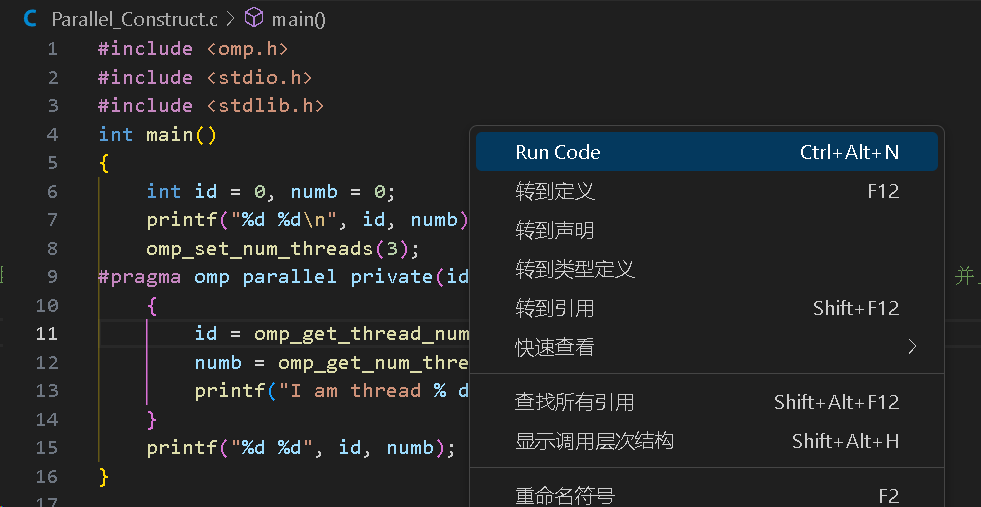 **运行结果:** 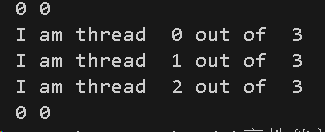 最后修改:2025 年 03 月 07 日 © 允许规范转载 赞 如果觉得我的文章对你有用,请随意赞赏